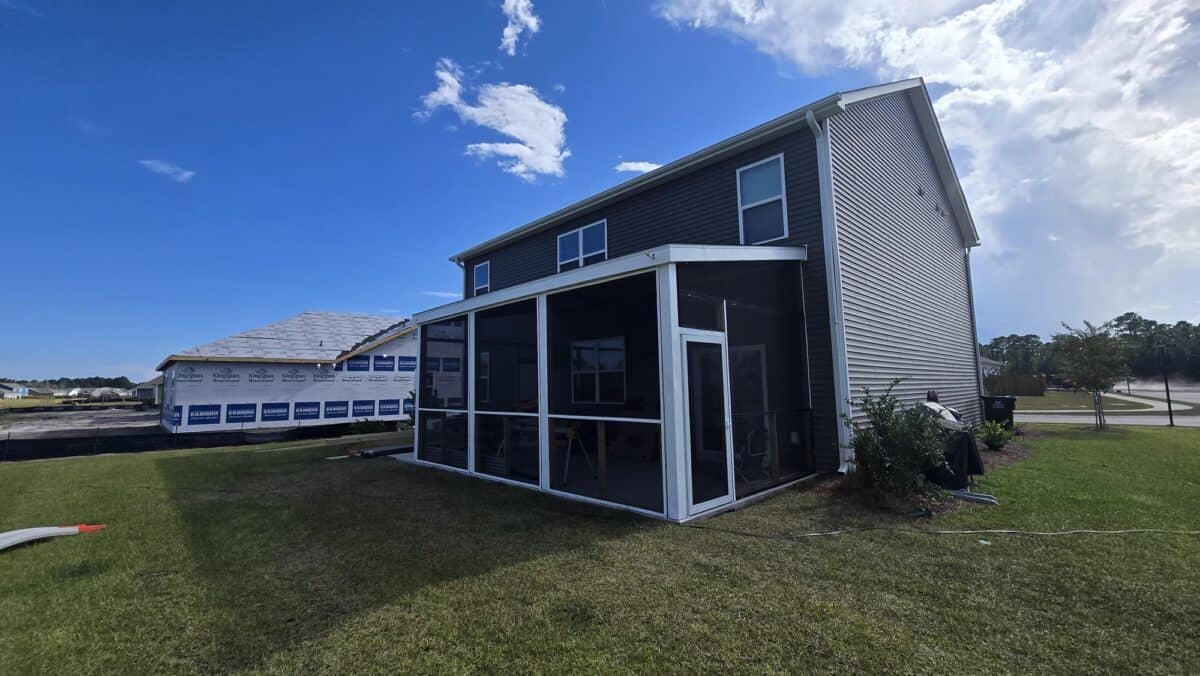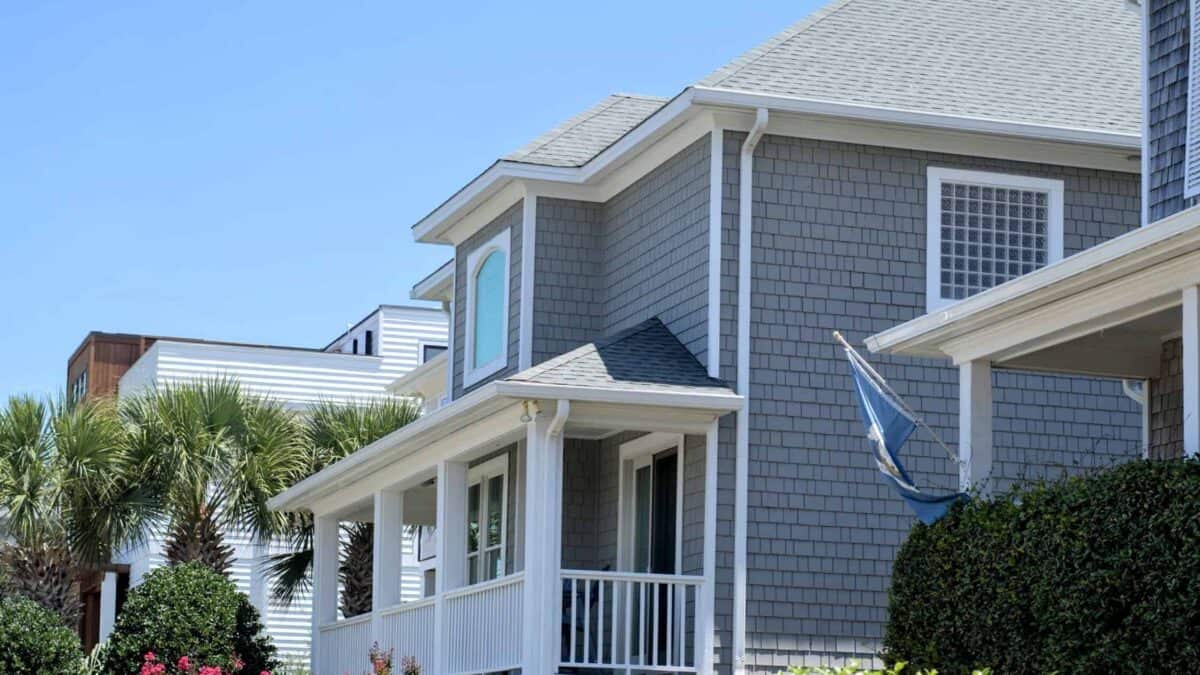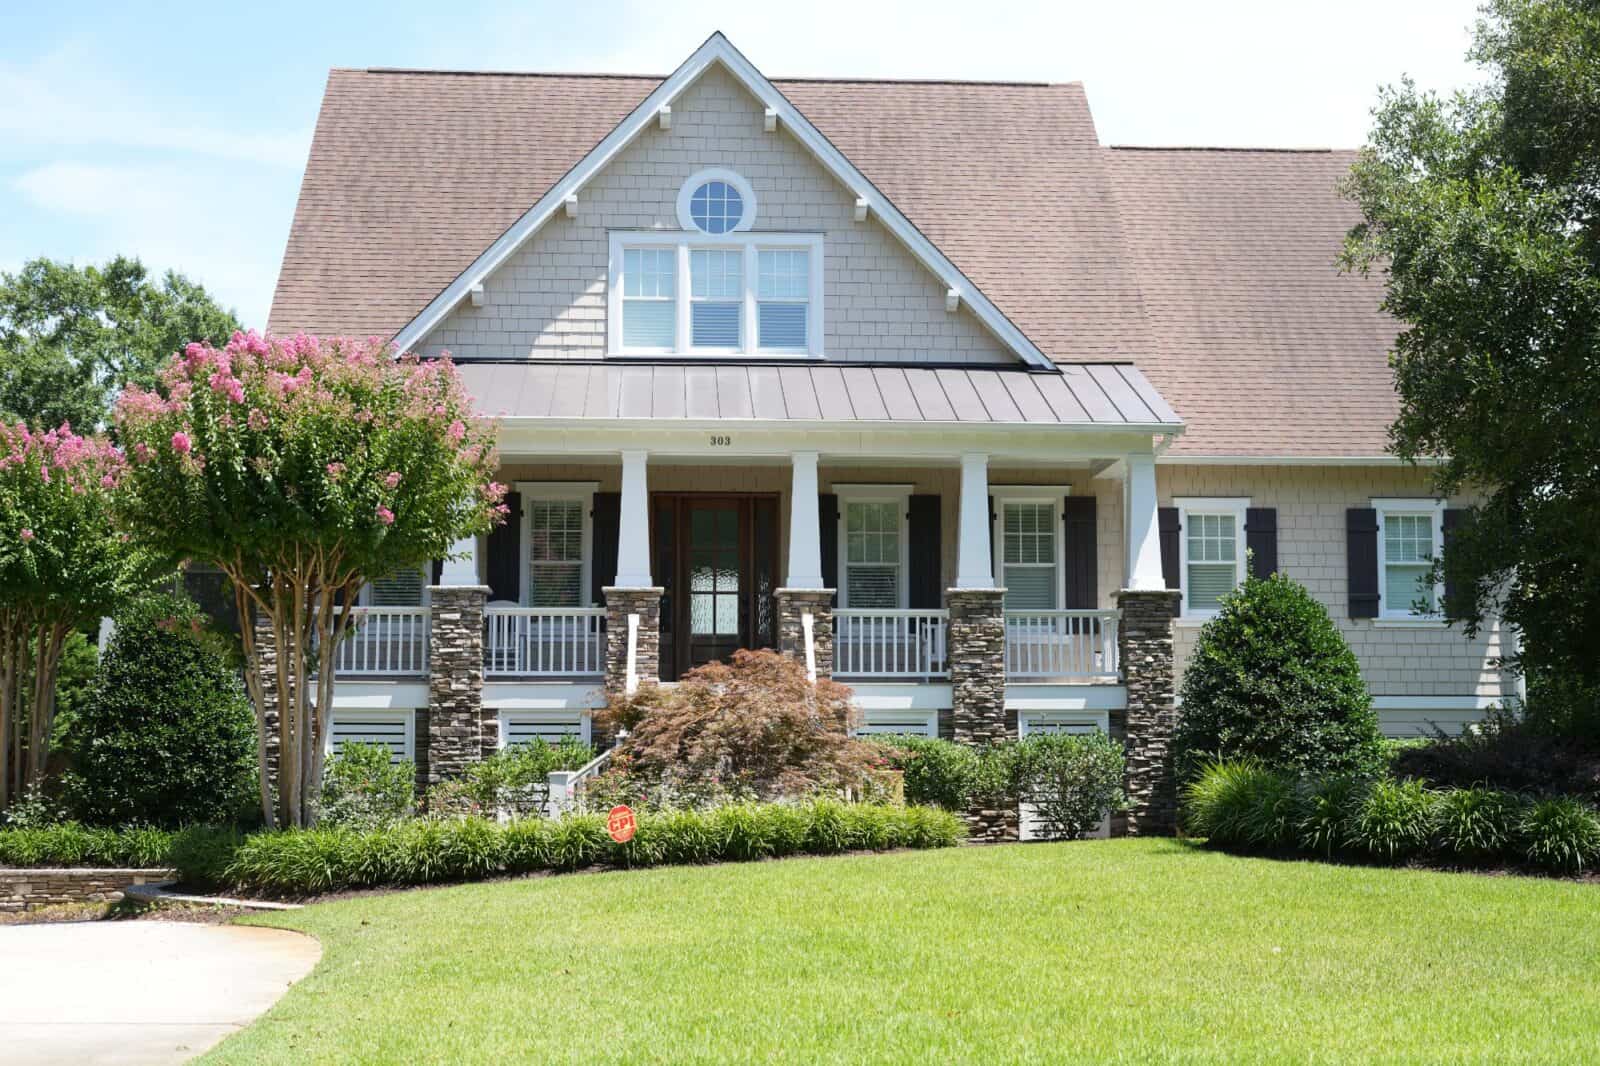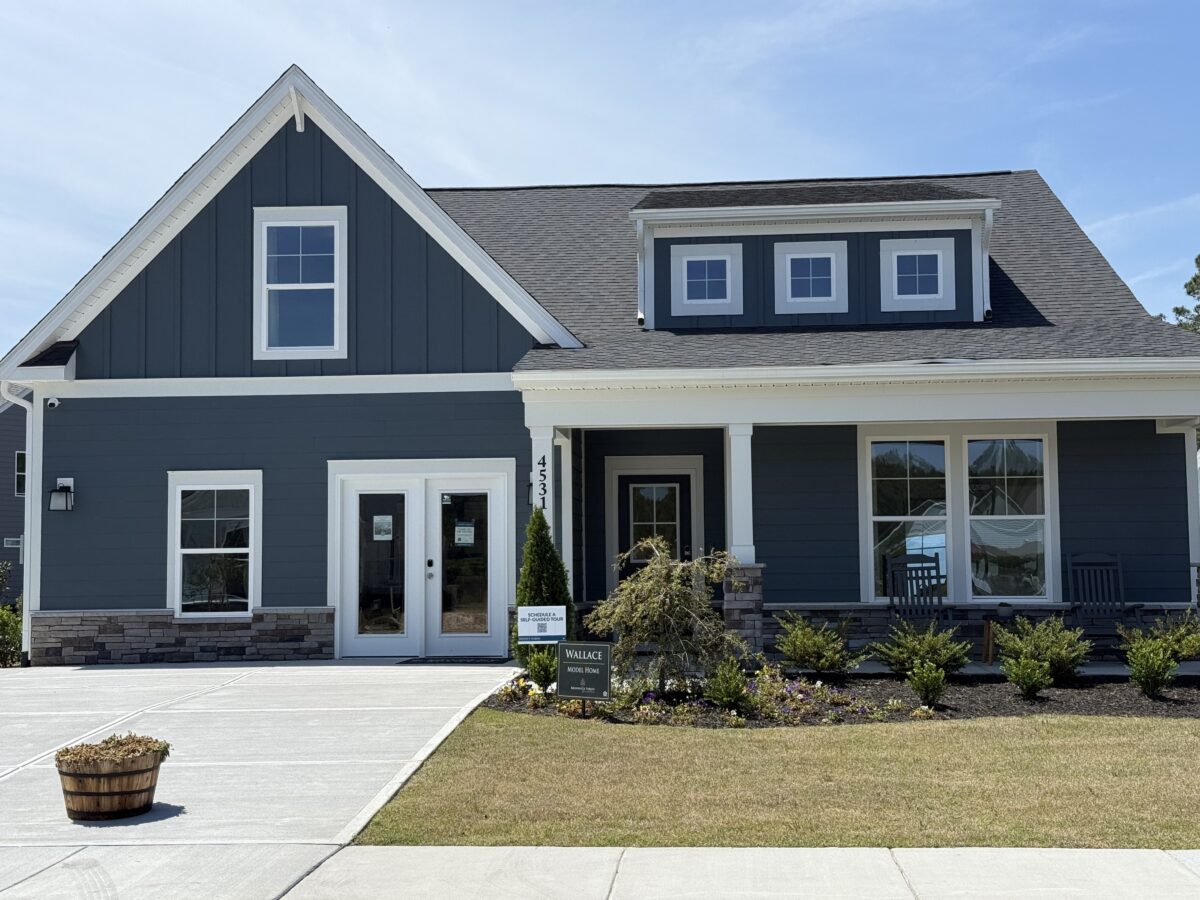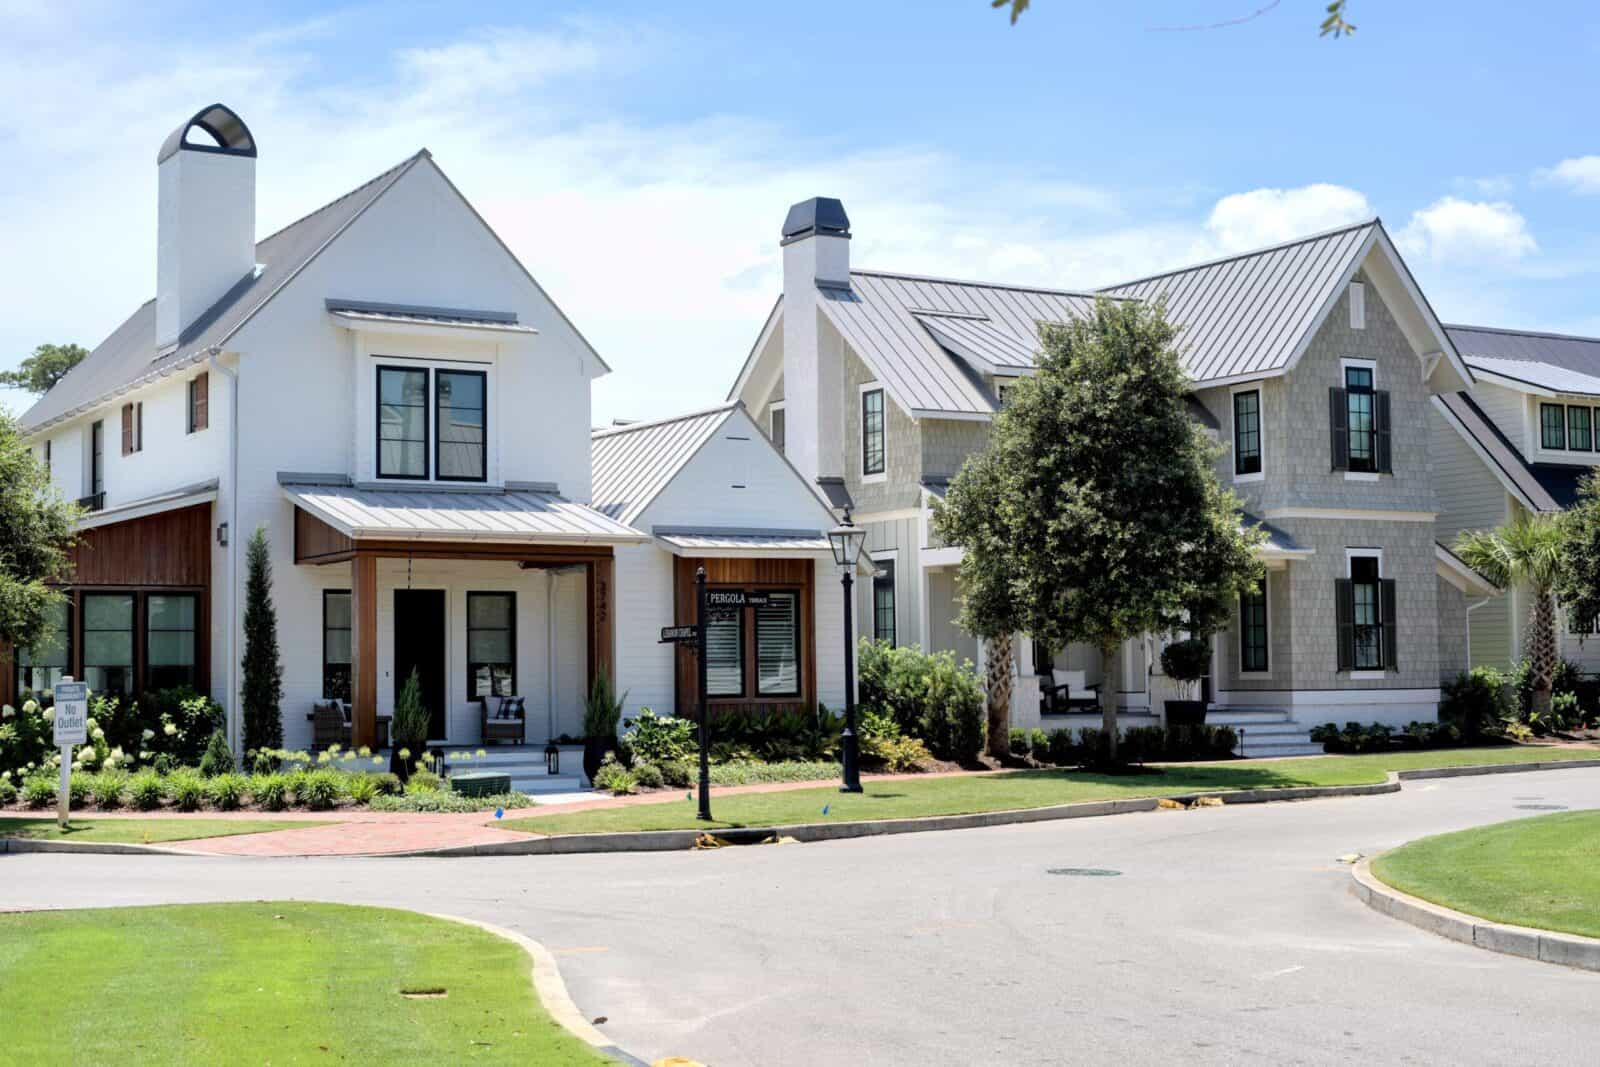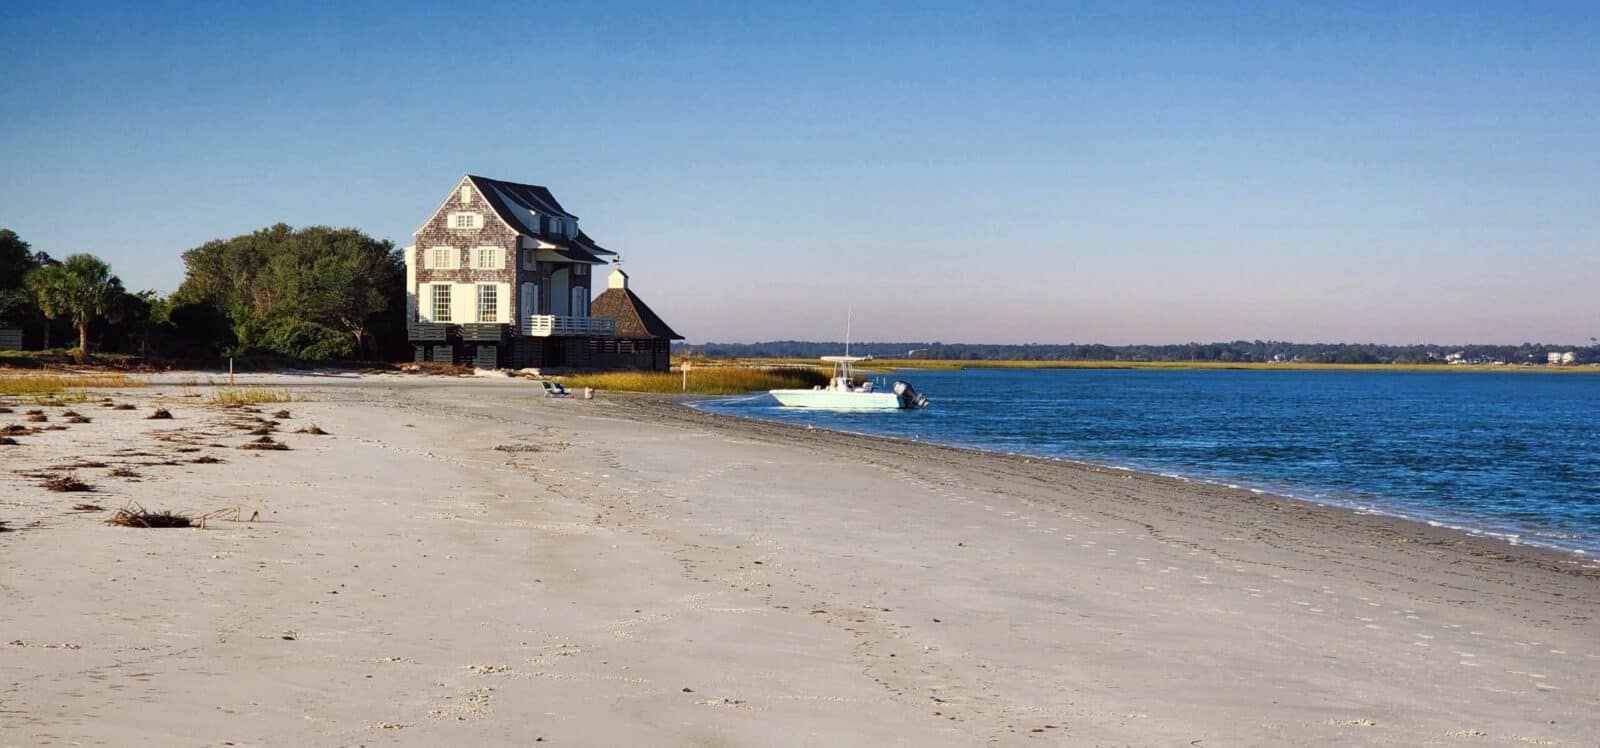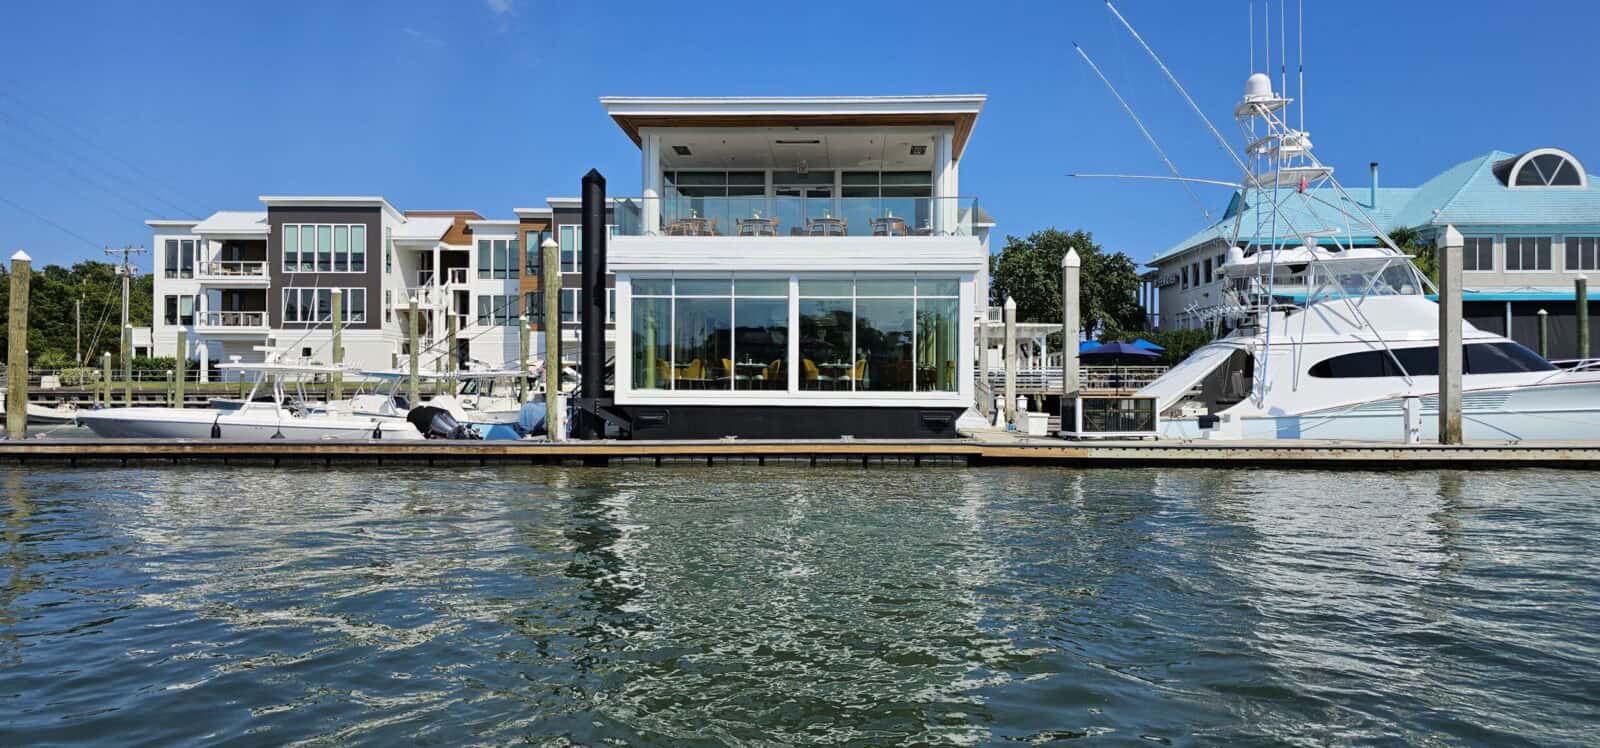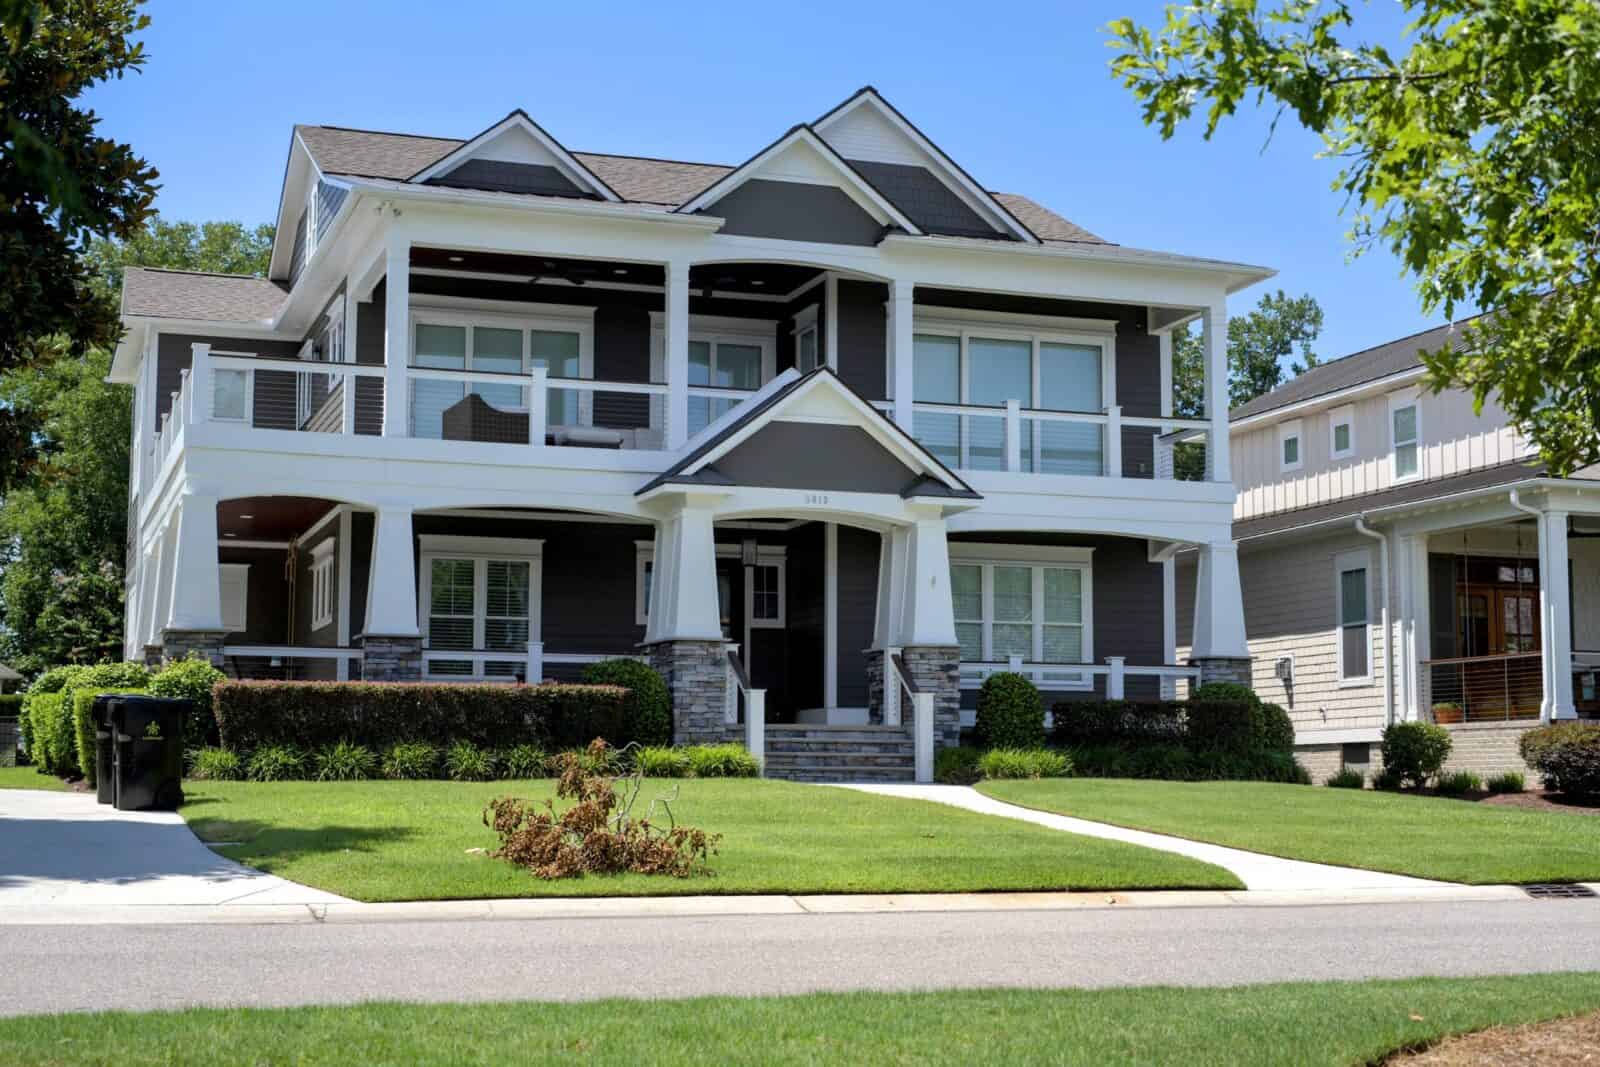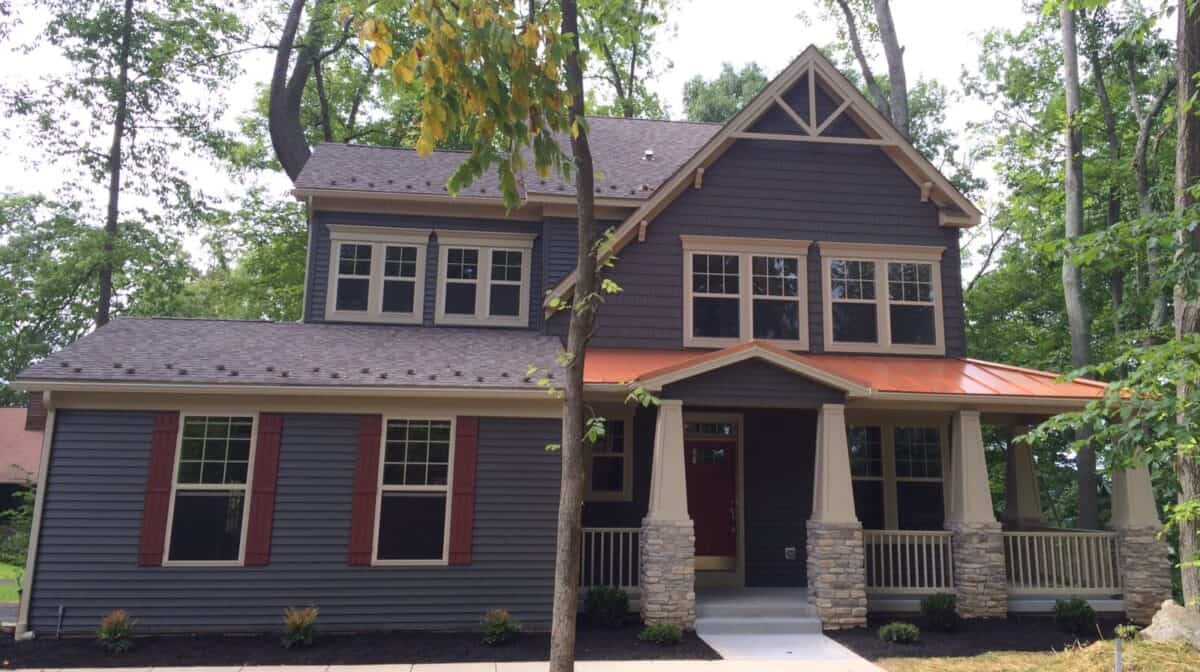
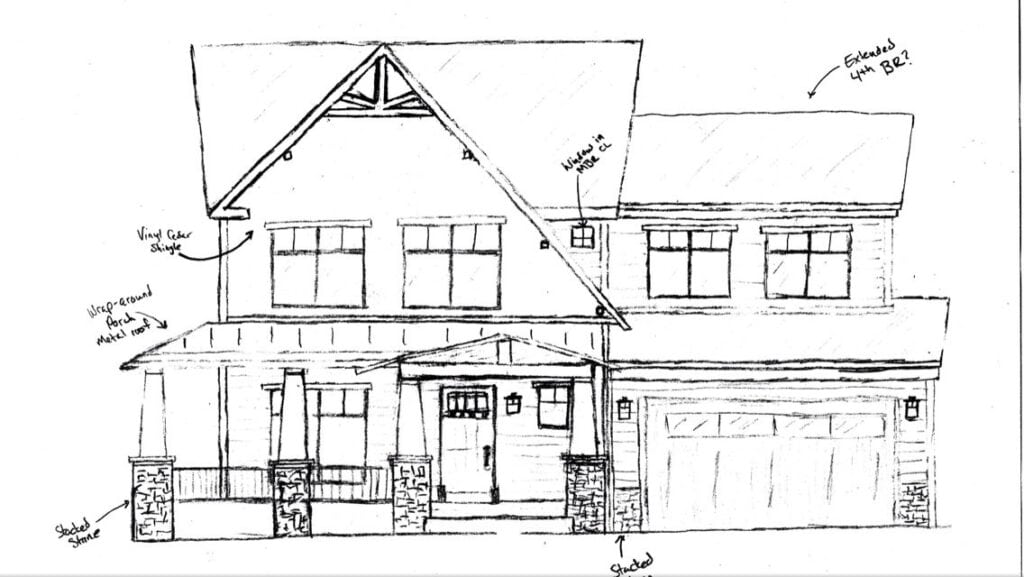
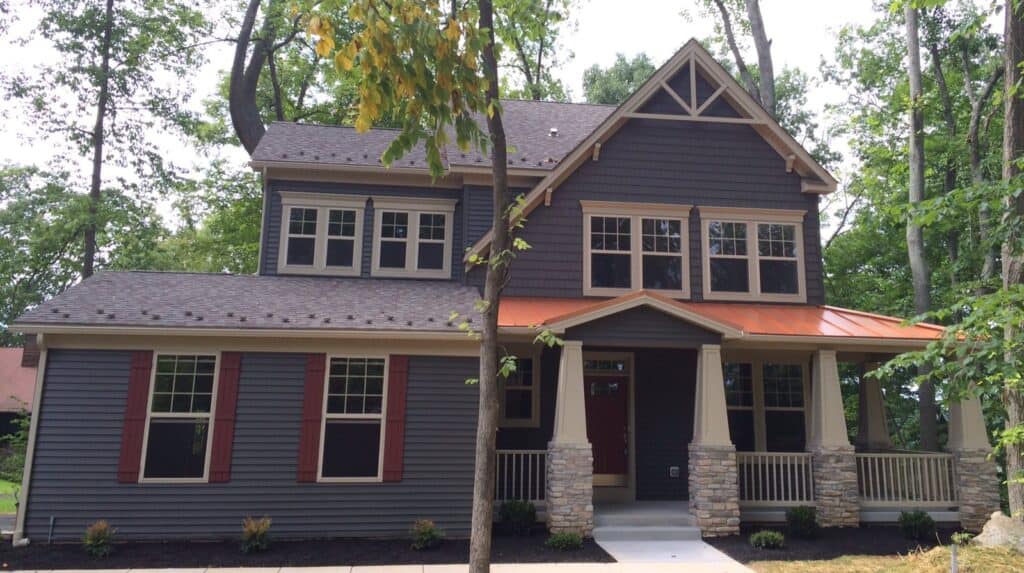
In September 2013 Jon and I signed with our builder, and a few weeks later Jon sat down with a pencil and sketched the house we wanted on top of their plan: a craftsman with a big front porch, stone at the bottom of the columns and a metal roof over the porch. About nine months after we signed, we were standing in front of it. In between was a snowy wooded lot, a lot of red clay, and a hundred decisions nobody warns you about. This is what building a new construction home actually looks like, stage by stage, using our Lake Linganore build as the example. (That build was in Maryland, before we moved to the coast in 2021 — the stages are the same anywhere, and I’ll call out the Wilmington differences as we go.)
The short answer: a new home goes through roughly ten stages: plans and selections, the lot and permits, clearing and site prep, excavation and foundation, framing and roof, rough-ins (plumbing, electrical, HVAC), insulation and drywall, interior finishes, exterior finishes and landscaping, and finally the walkthrough, certificate of occupancy and closing. On our build, the part with dirt and machines took about four and a half months. The planning before it took almost as long.
Stage 1: Plans and selections (before anything happens on the lot)
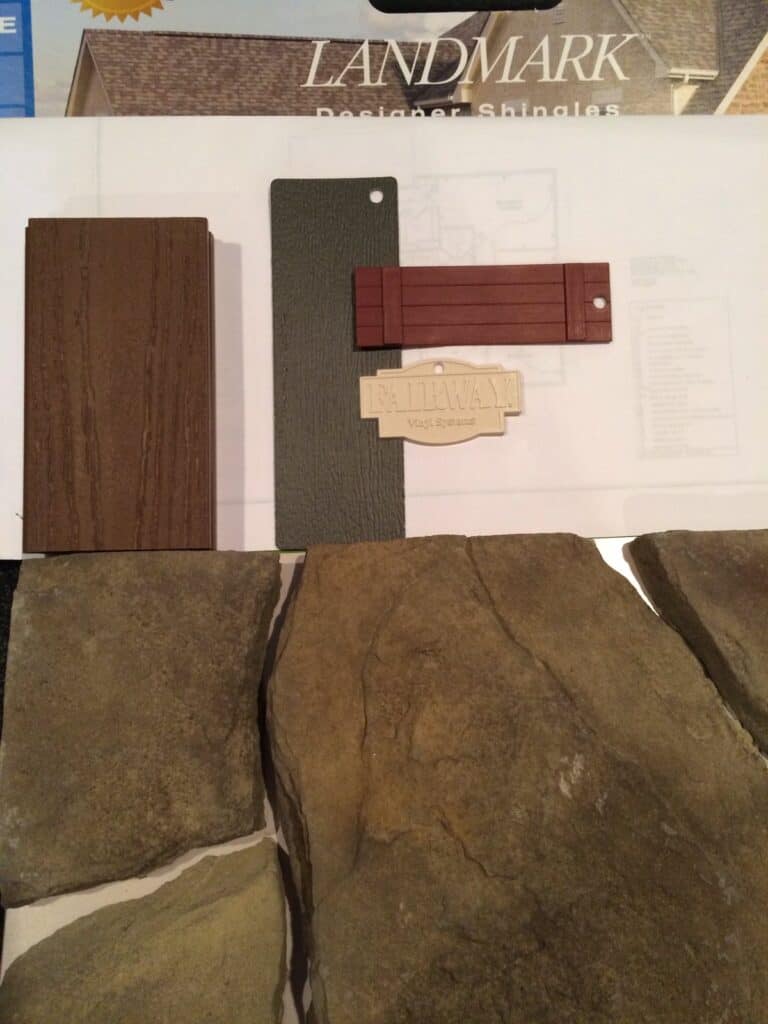
This is the stage nobody photographs, and it’s the one that surprised me most. Our builder, CE Rensberger, was a small family builder with a set of standard plans you could build as-is or tweak. We started from one of those plans, Jon sketched our changes right on paper, and I was choosing siding, shutters, stone, decking and light fixtures in January, a full month before a single tree came down. You’ll get a selections schedule from your builder with deadlines, and those deadlines are real: late choices can push the whole build back. Small builders like ours are often flexible about tweaking a plan, so ask early what changes are allowed.
What you’re doing: signing the contract, finalizing the plan, meeting with the design center, and lining up financing. If you’re using a construction loan, this is when it gets set up.
Stage 2: The lot and permits
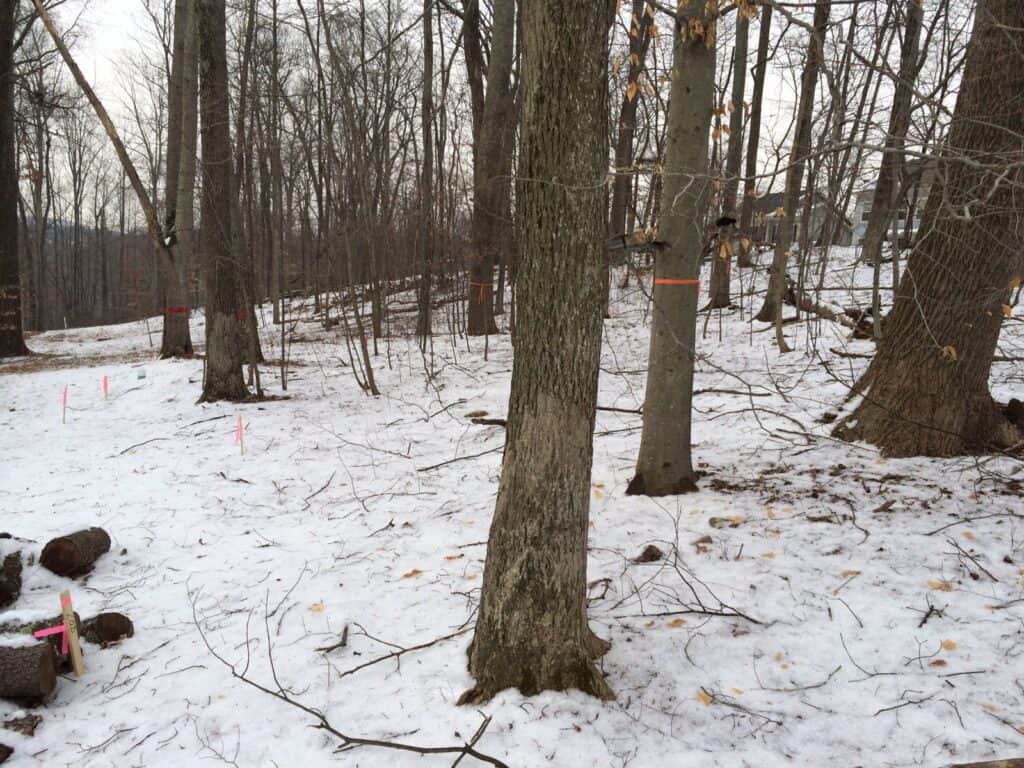
Our lot was wooded and sloped, and in February it was under snow. The surveyor staked the corners of the house with pink flags and the trees that had to come down got orange ribbons. This was my favorite walk of the whole build, because you finally see where the house will sit. Behind the scenes the builder is pulling permits and, in many neighborhoods, getting the plan approved by the HOA’s architectural review.
What you’re doing: walking the lot with the builder, asking which trees can stay, and checking where the driveway, septic or utilities will go. Near Wilmington, this is also when you want the flood zone and any elevation requirements for that exact lot in writing. My flood zone guide walks through what to check.
Stage 3: Clearing and site prep
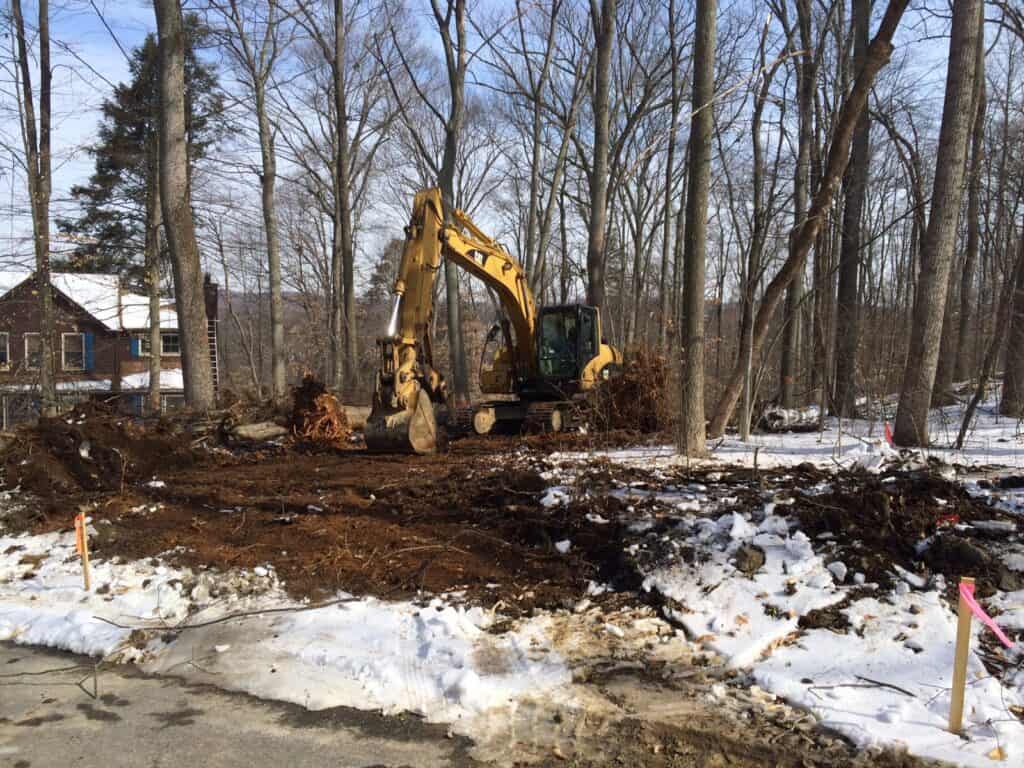
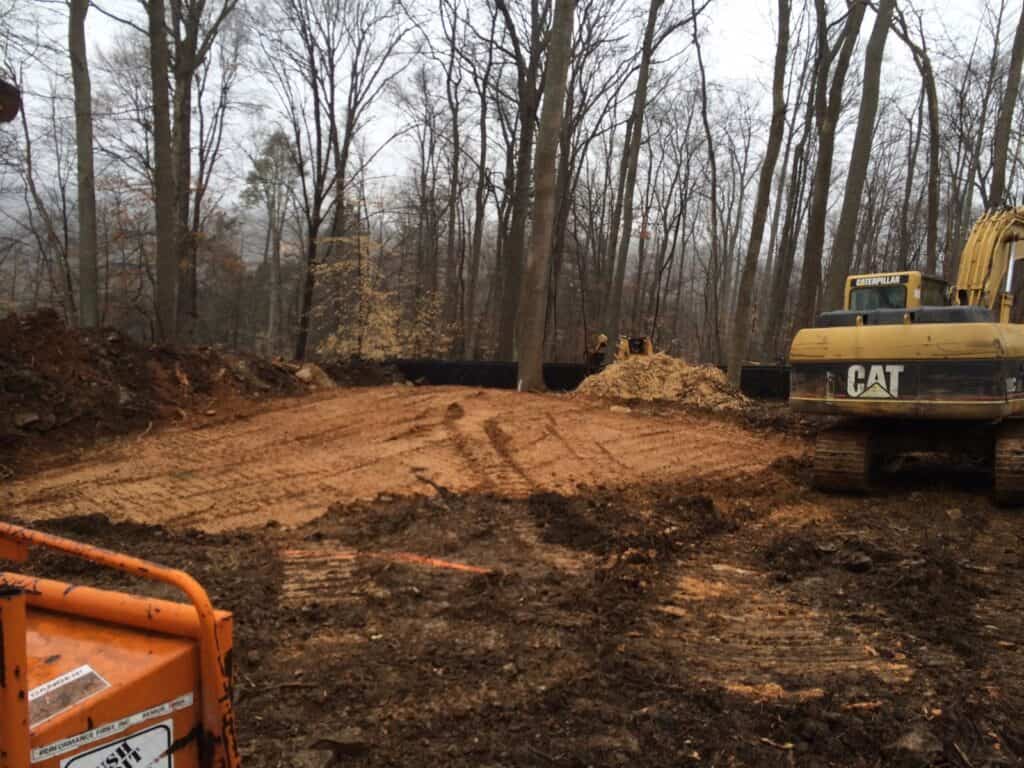
One March morning the excavator showed up and the woods became a building site. Within two weeks the lot was cleared, the logs were stacked, the stumps were chipped, and a flat dirt pad was graded and ringed with black silt fence to keep the soil out of the street and the storm drains.
Stage 4: Excavation and foundation
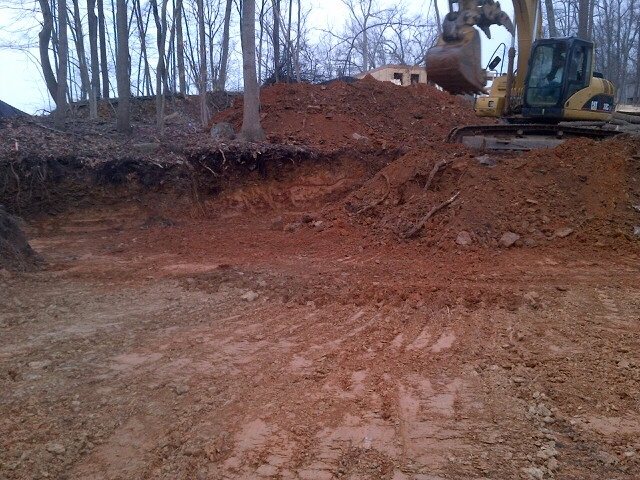
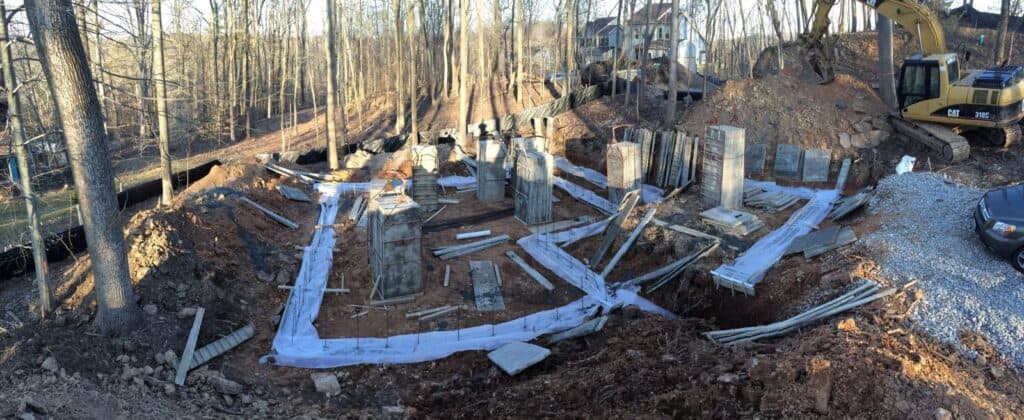
Ours had a basement, so the next step was a big hole in red clay. Two days after the dig, the footings were poured. Then the concrete pump truck came, and the block foundation walls went up. From clearing day to a finished foundation took about five weeks.
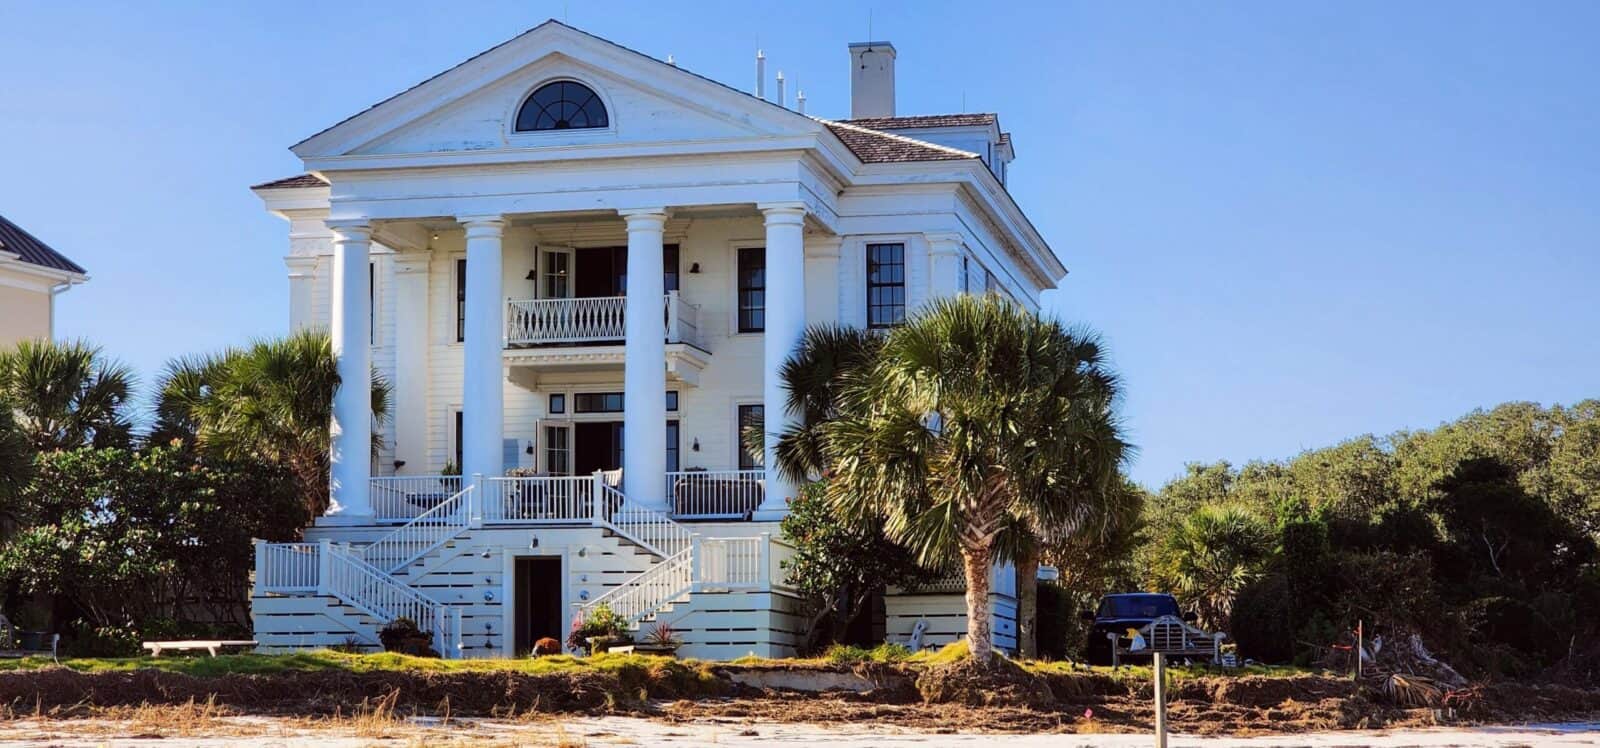
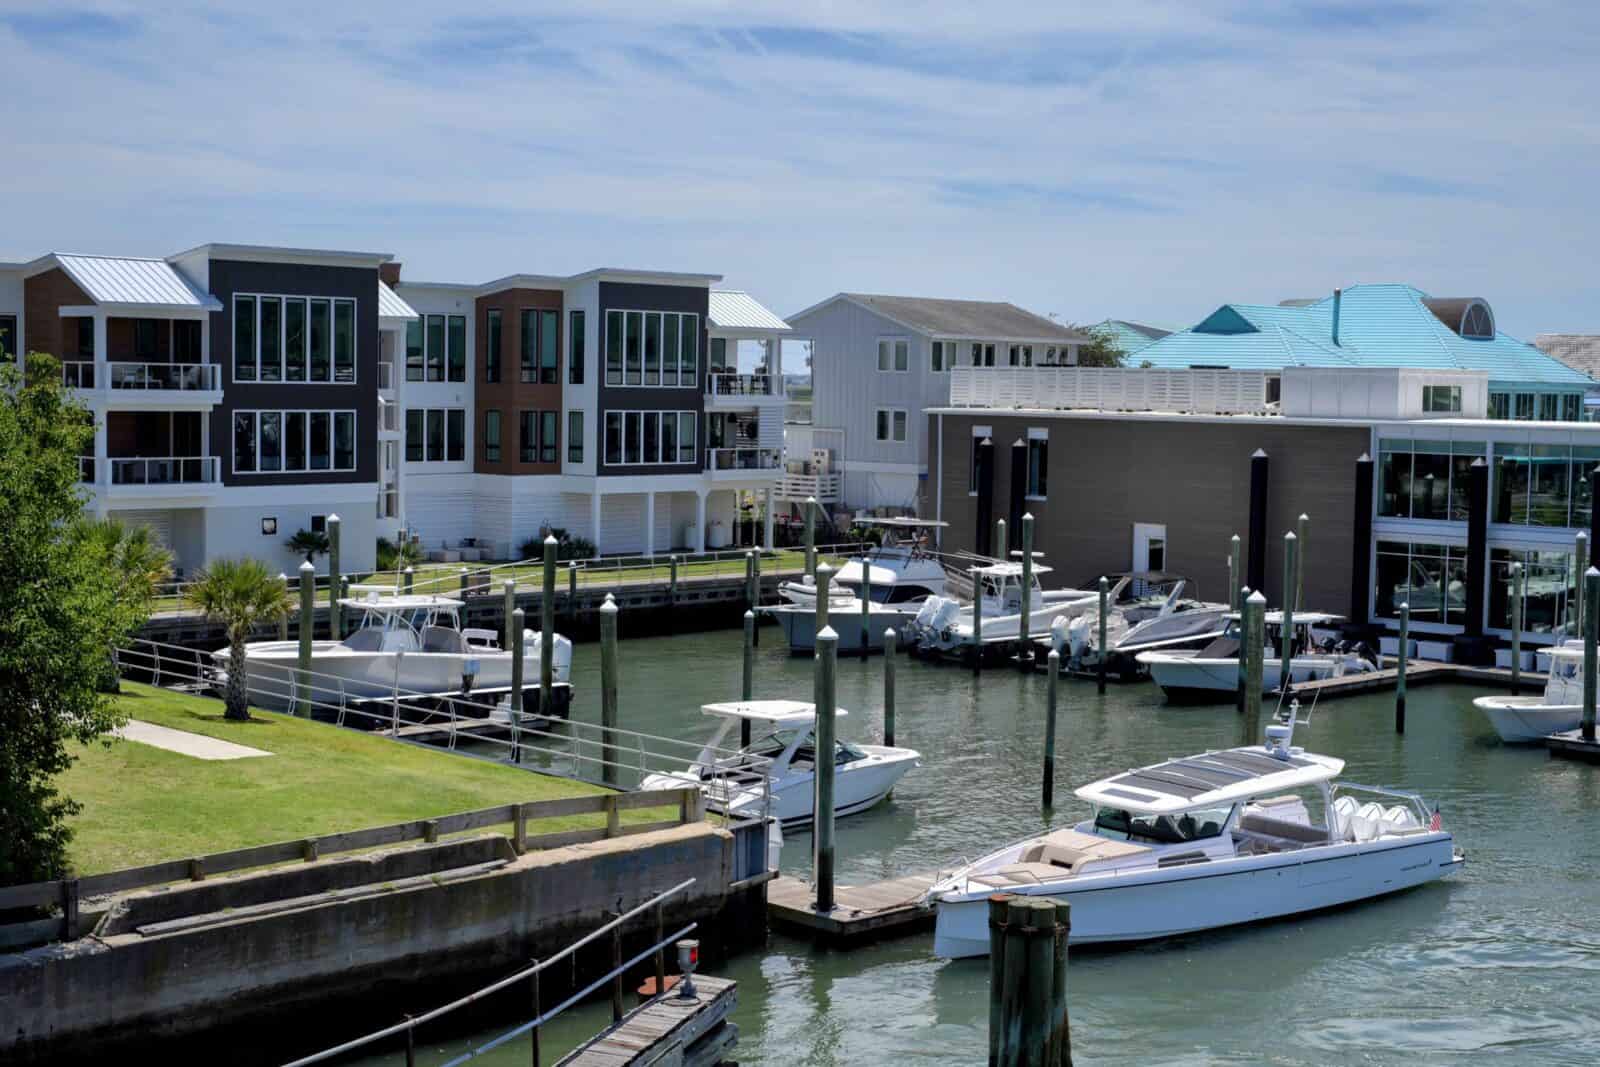
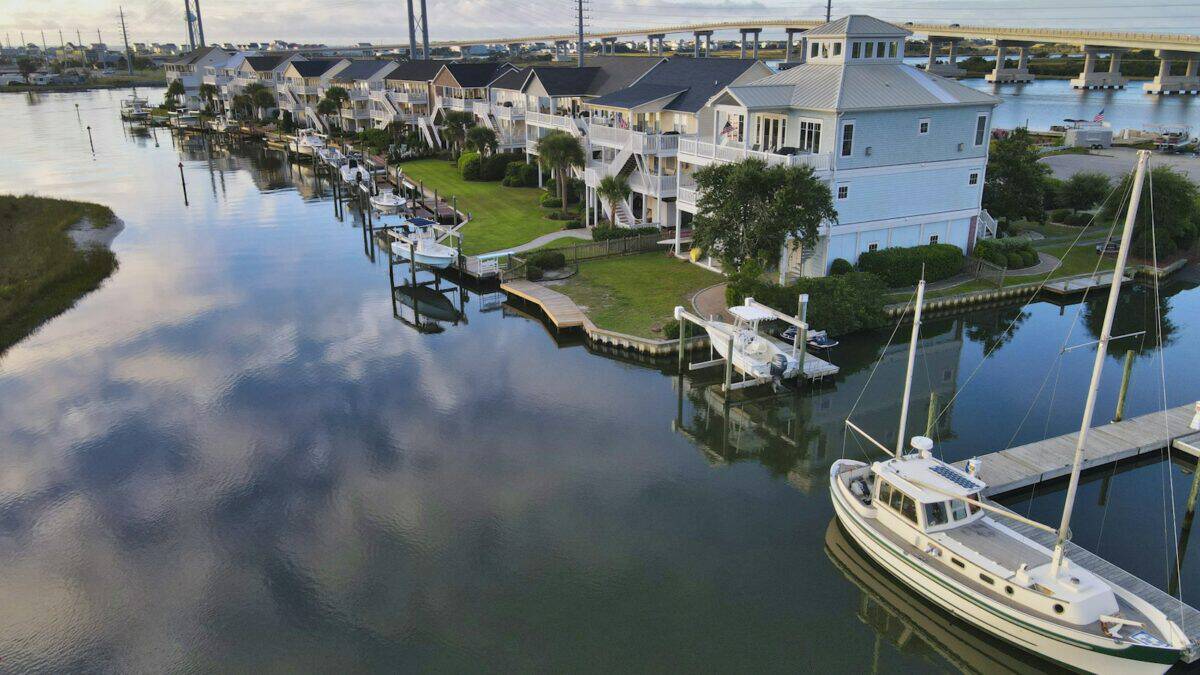
Here’s the Wilmington difference: you’ll rarely see a basement dug on the coast. Groundwater sits high and flood rules are strict, so most new homes here go on a slab or a raised crawlspace, and many near the water sit up on pilings. The order of operations is the same; the hole is just a lot shallower.
Stage 5: Framing and roof
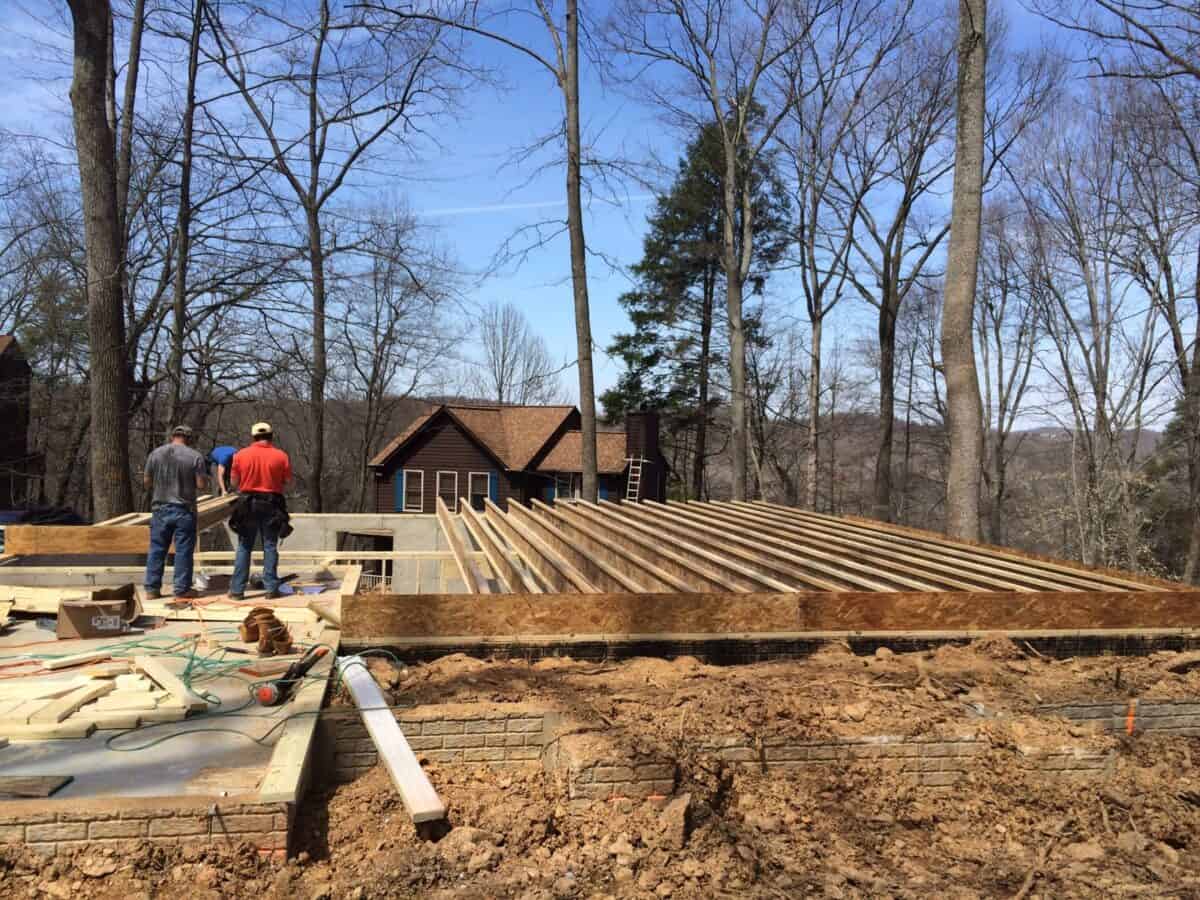
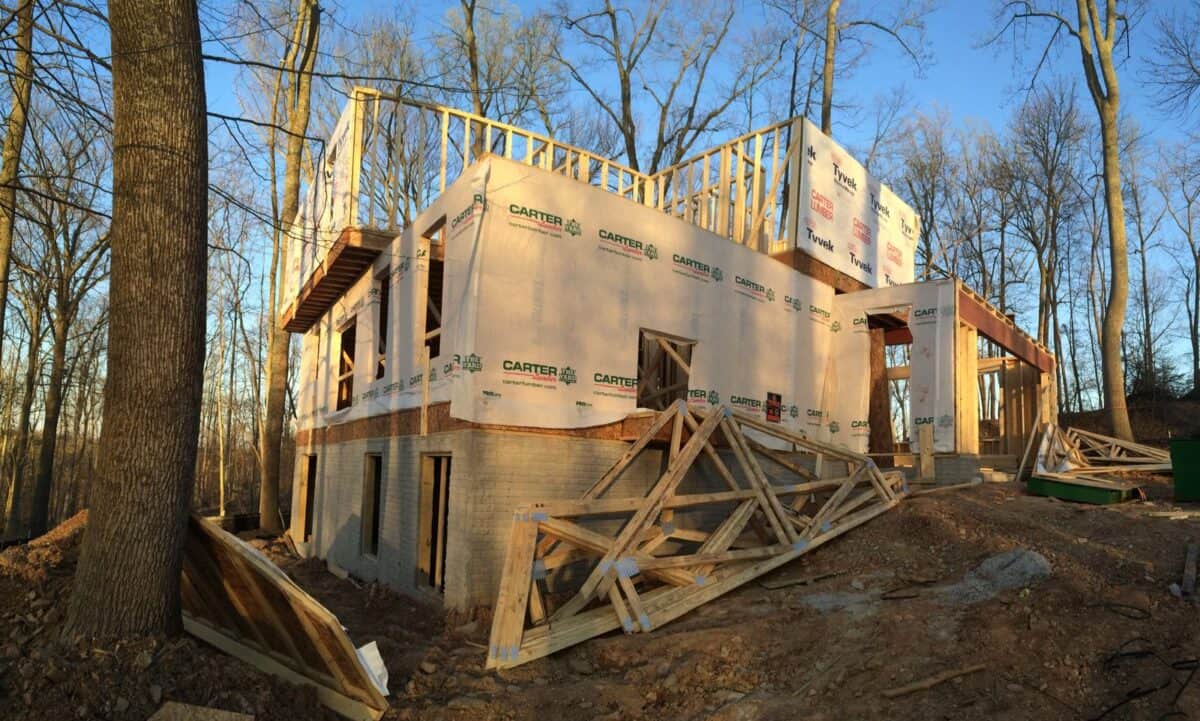
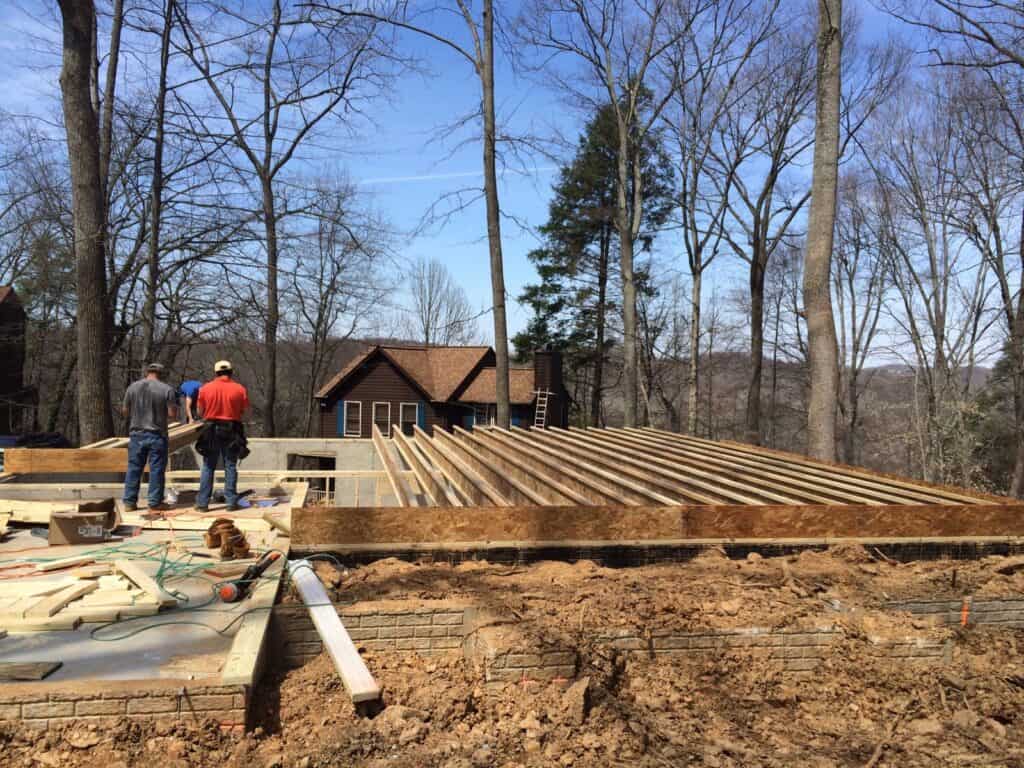
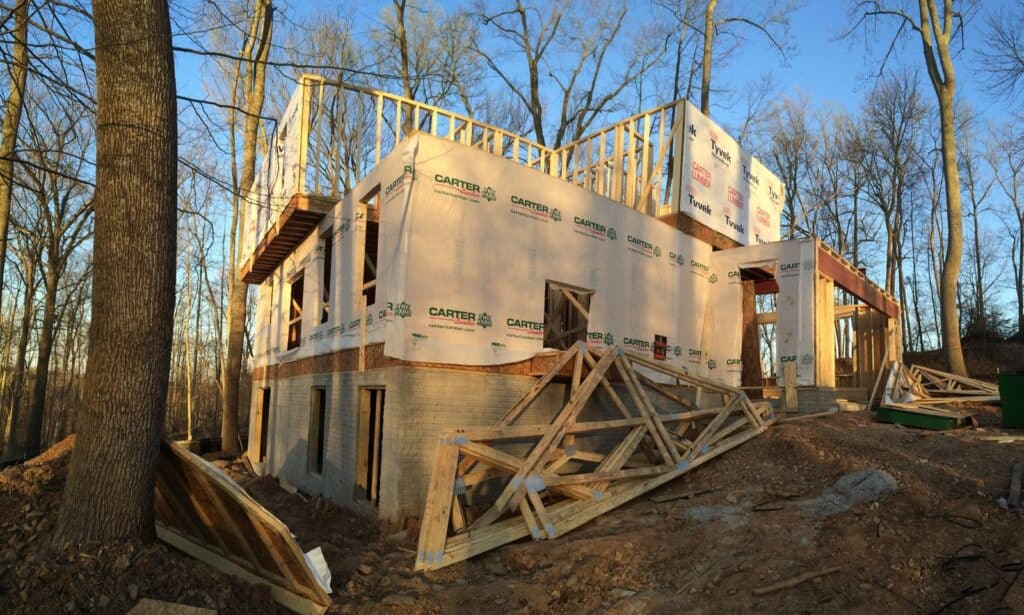
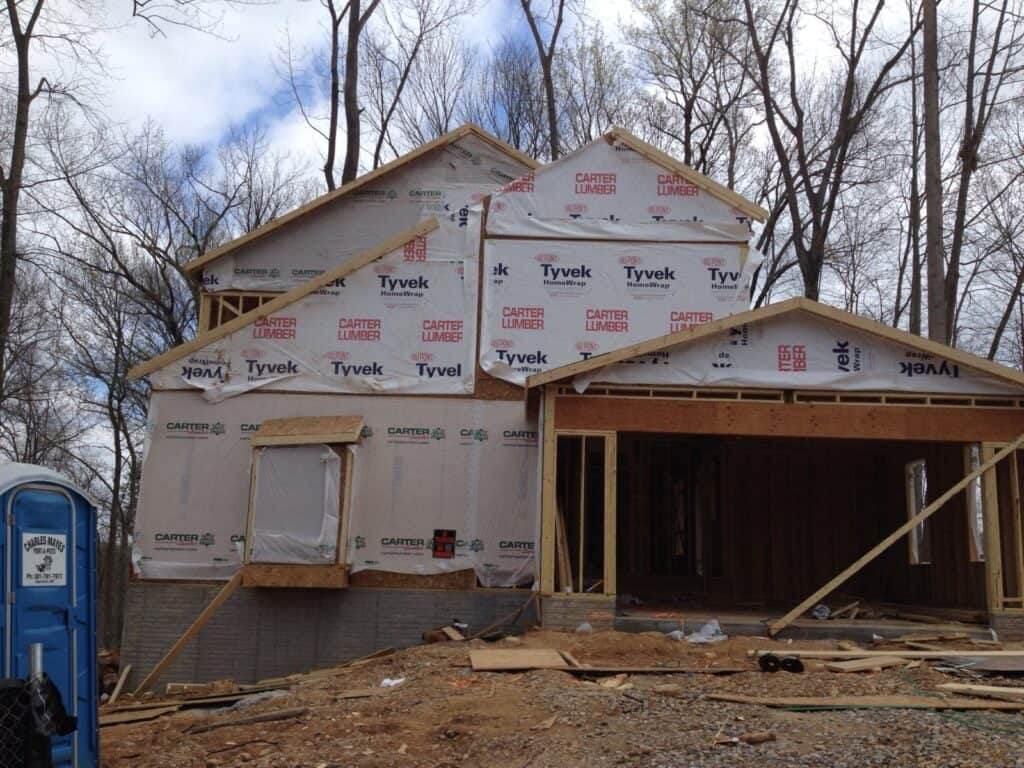
This is the fun part. The first-floor joists went on in mid-April, and about a week later the whole house was framed, wrapped in house wrap and waiting on its roof trusses. A couple of days after that the trusses were up. It goes fast, and it’s the first time the house looks like a house.
Stage 6: Rough-ins (plumbing, electrical and HVAC)
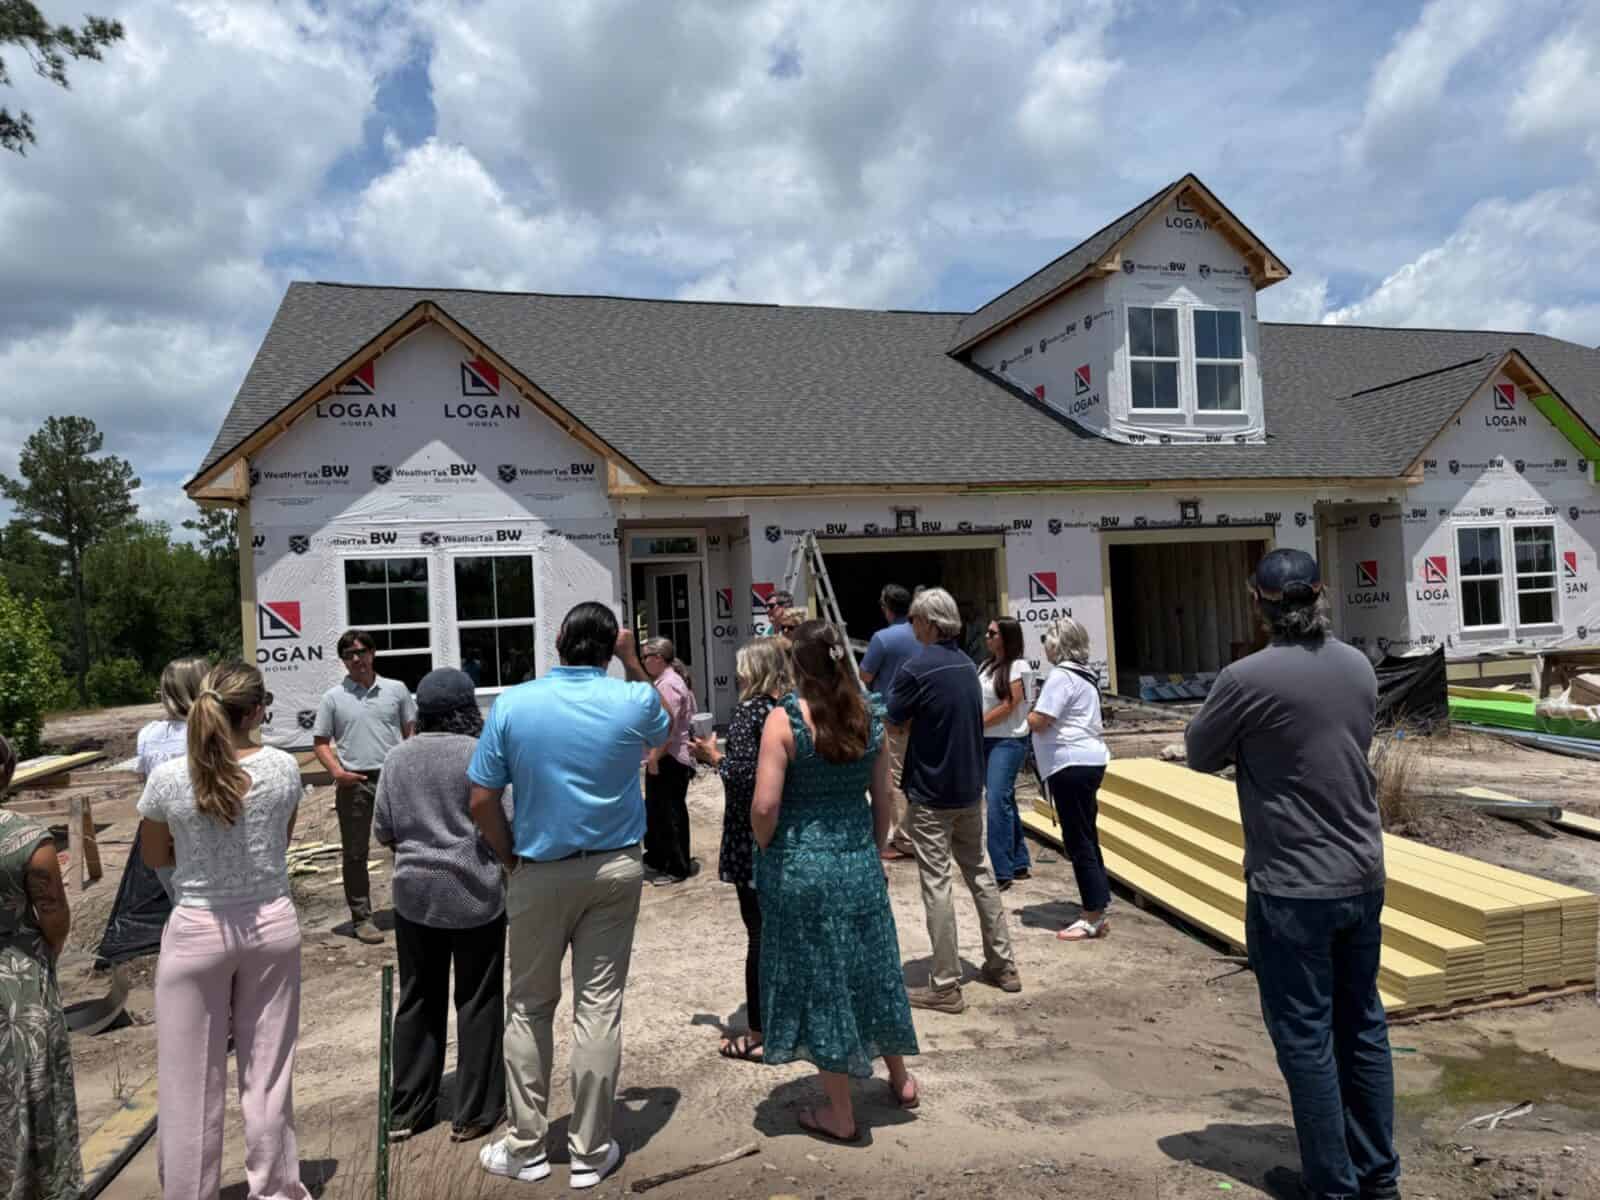
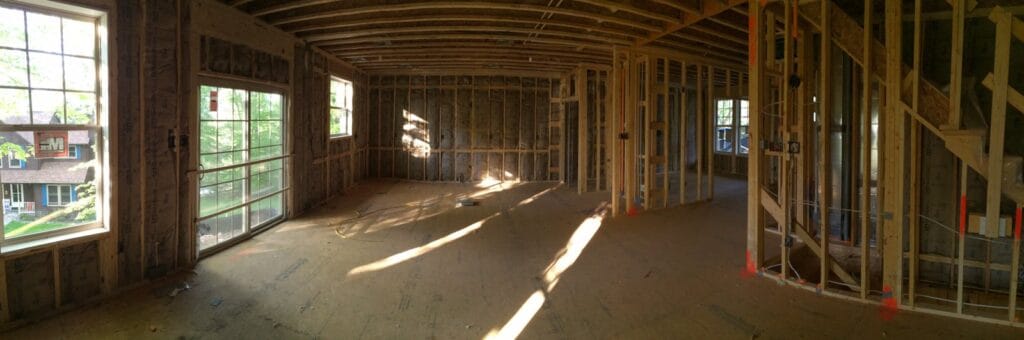
With the house closed in, the trades run everything that will live inside the walls: pipes, wiring, electrical boxes, ductwork. This is when you can still see exactly where every outlet, switch and drain is, and it’s the best time to catch a mistake. At our walk, Jon wanted all the extras: blocking in the walls for mounting the TV, electrical conduit run everywhere and CAT5 cable run everywhere. The build quality was lovely, so there honestly wasn’t much to catch. Ask your builder for a pre-drywall walkthrough and take video of every wall.
Stage 7: Insulation and drywall
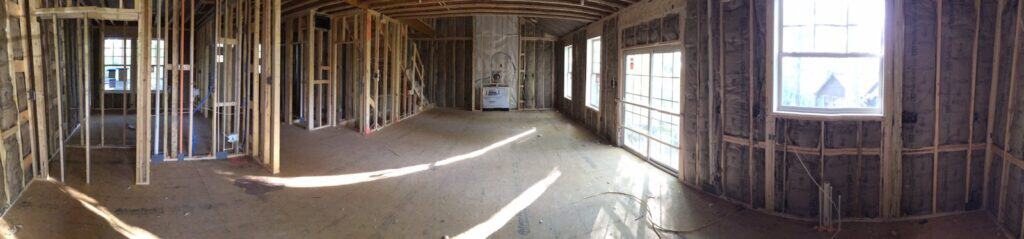
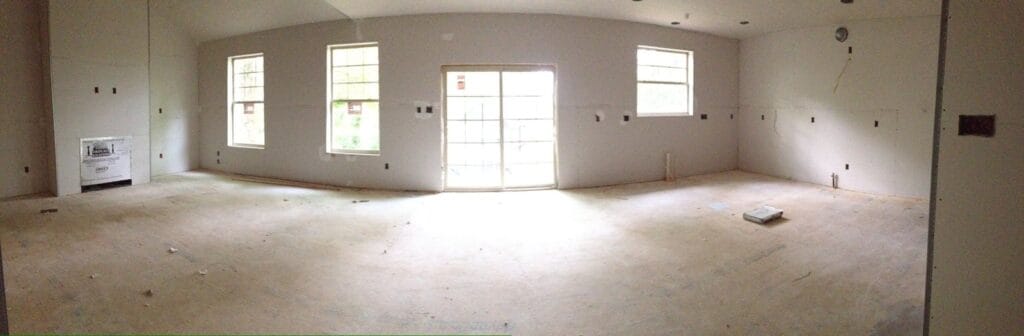
Once the rough-ins pass inspection, insulation goes in. On our build the drywall was hung five days after the insulation photos. That window closes quickly, which is why I push every buyer to get that pre-drywall walk on the calendar early.
Stage 8: Interior finishes
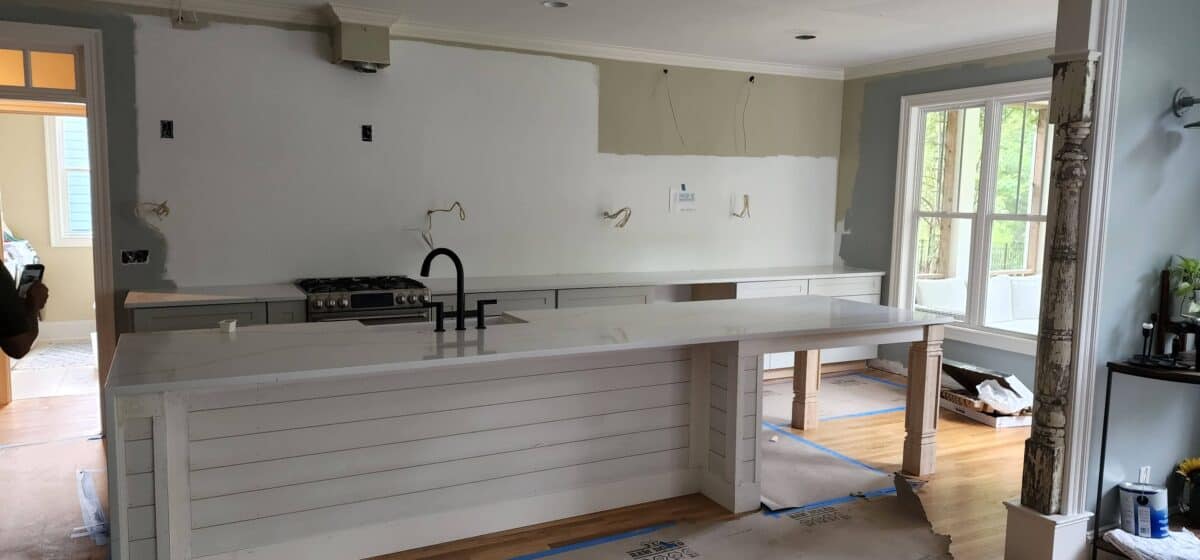
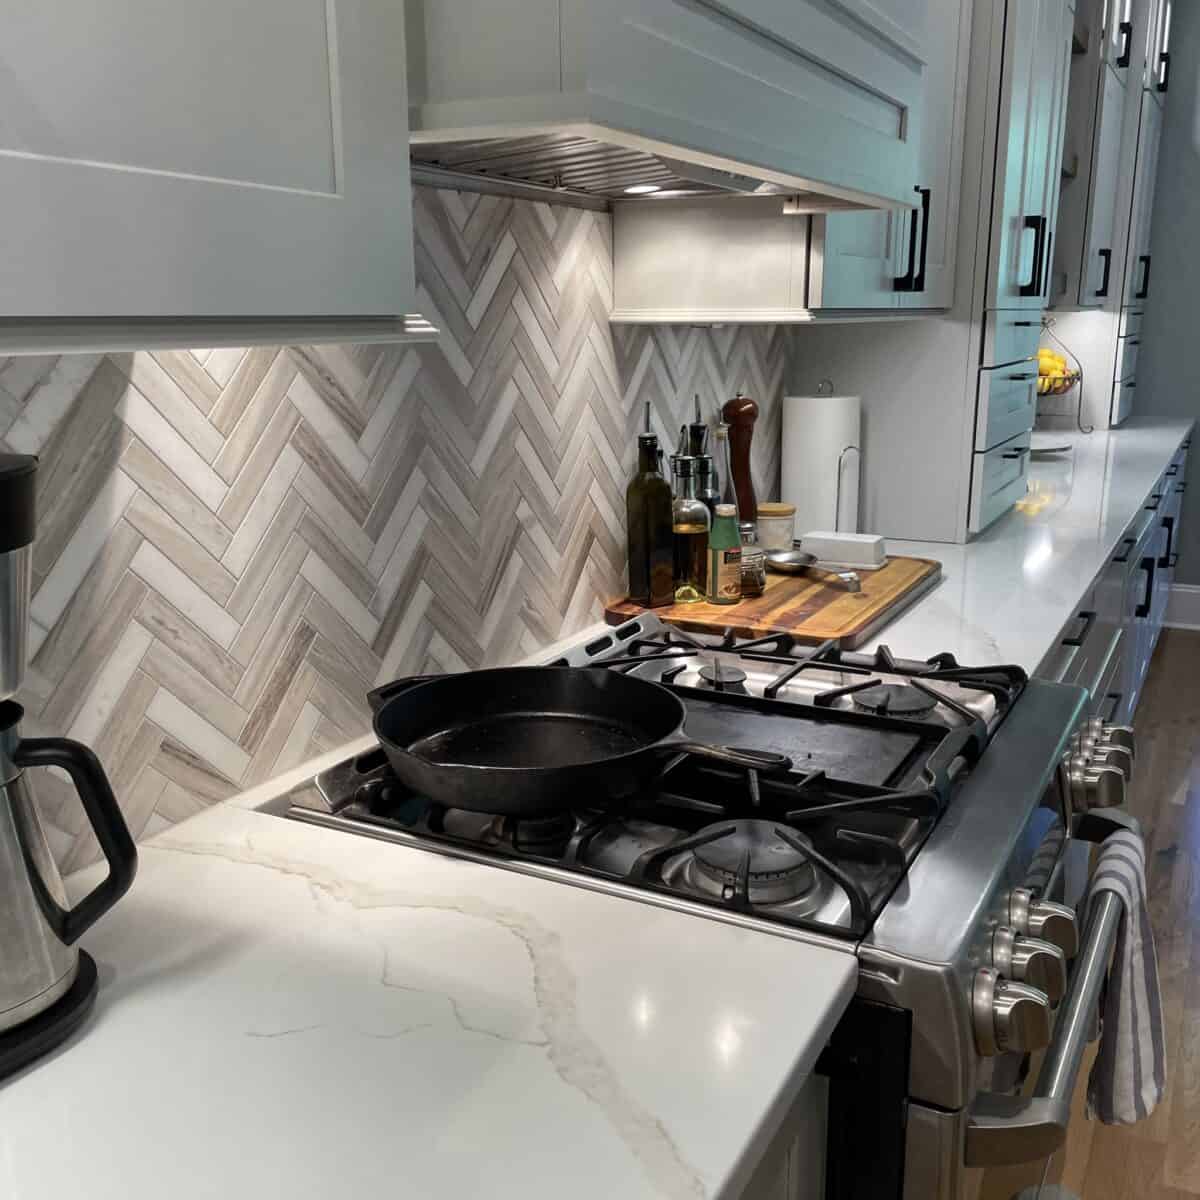
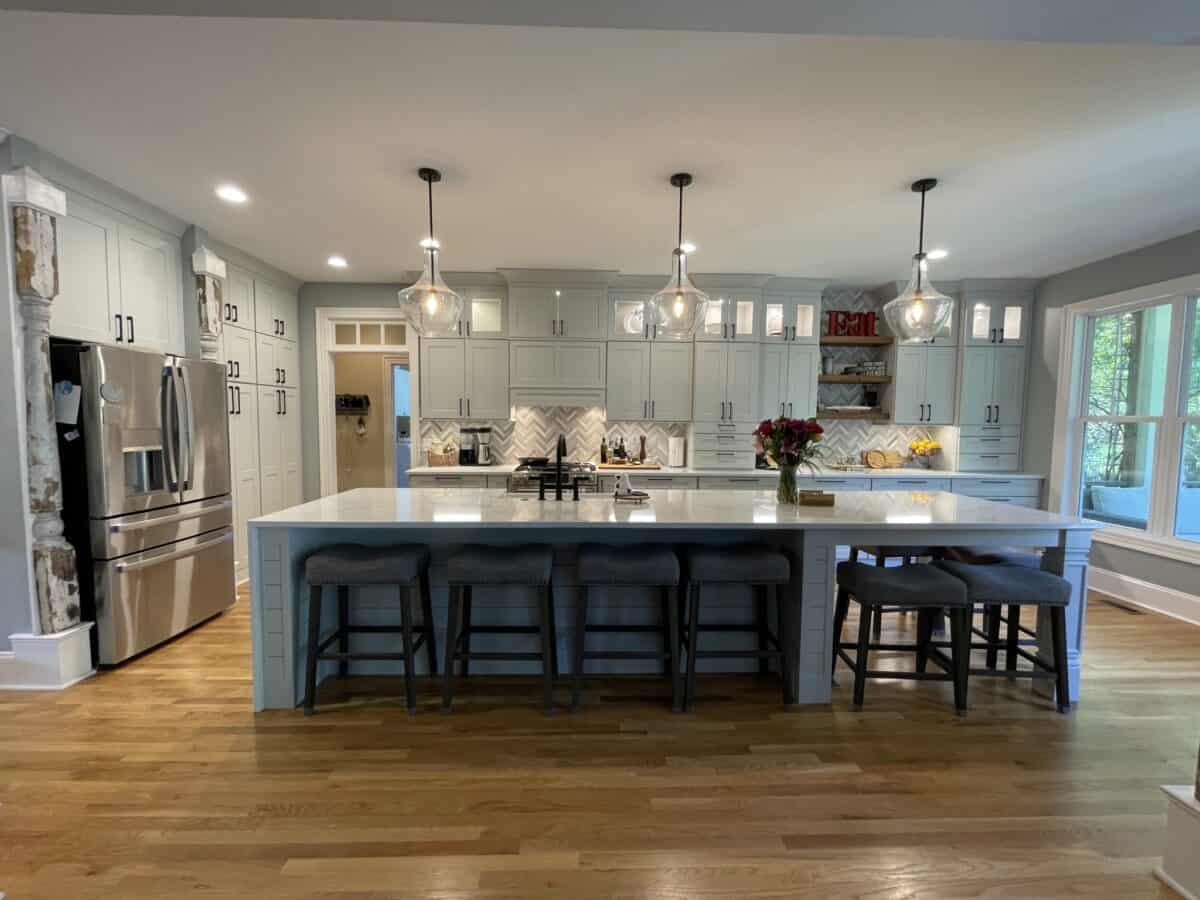
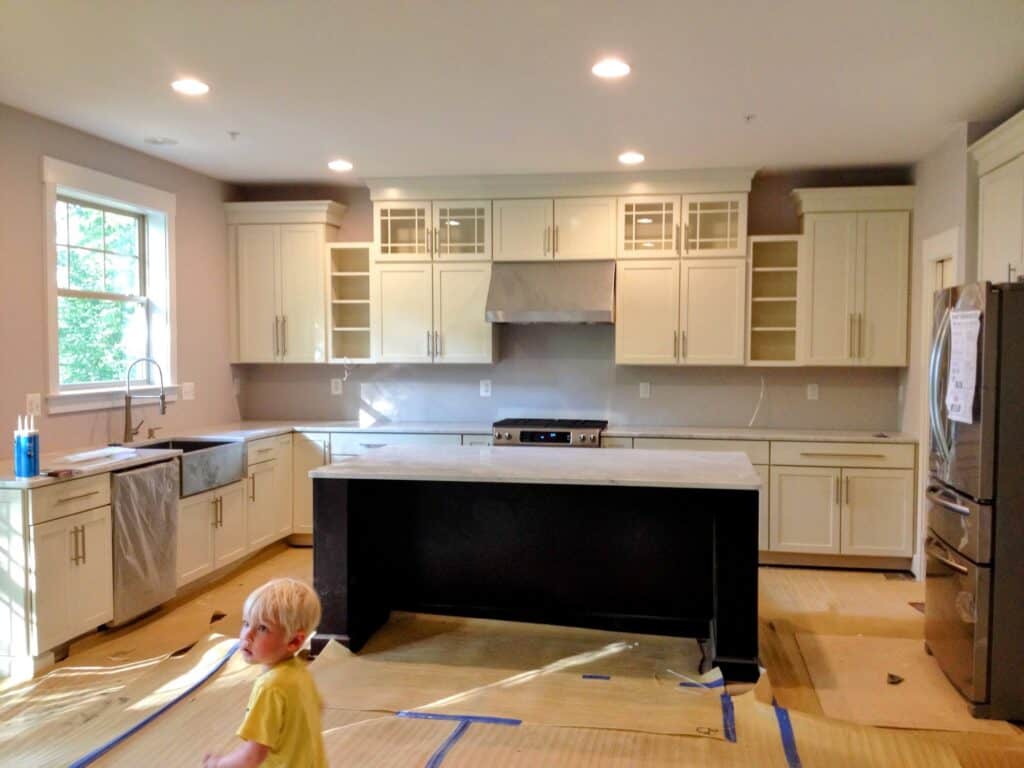
Cabinets, counters, flooring, trim, tile, paint, fixtures. This is where all those selections from Stage 1 show up. It’s also the stage that feels slowest, because a lot of different trades are in and out and it can look like nothing changed for a week. It’s a good time to visit, look closely, and keep a running list.
Stage 9: Exterior finishes and landscaping
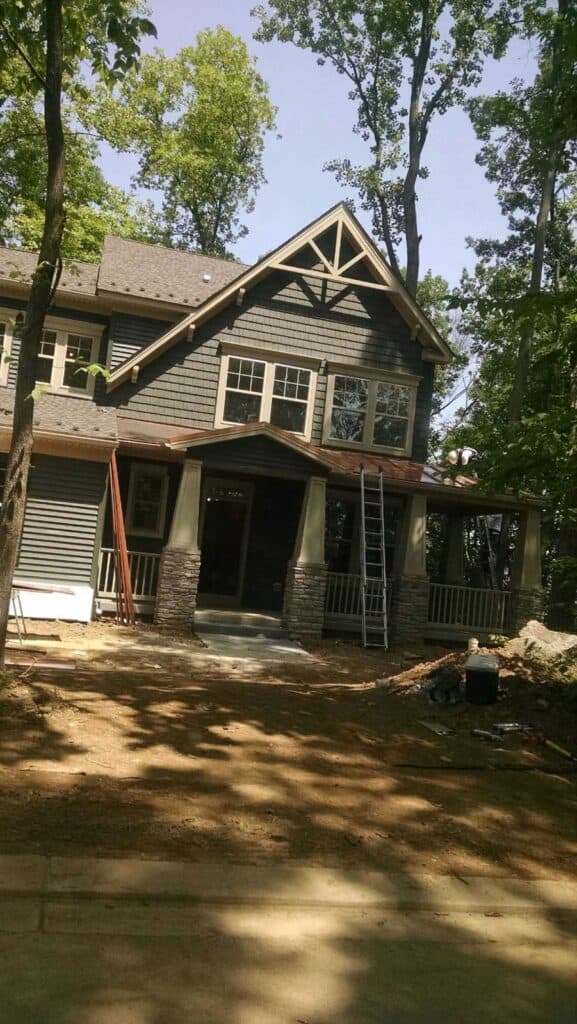
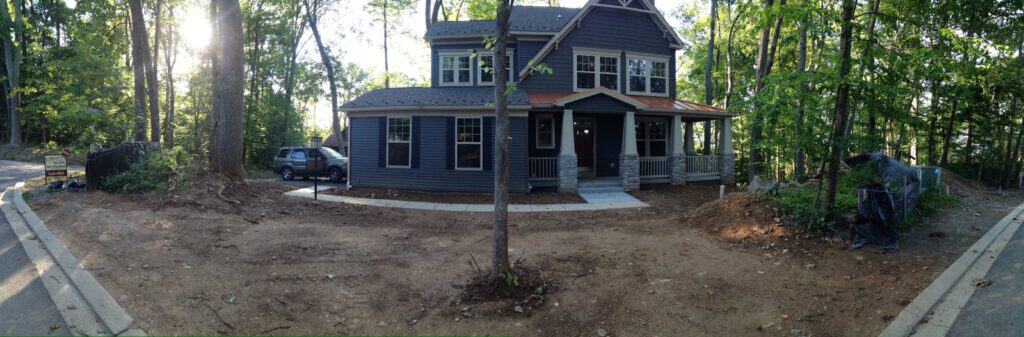
By early July our siding, stone porch columns and copper porch roof were on. The front walk went in, the yard was graded, and a couple of weeks later the mulch beds and plantings made it look like a home instead of a job site.
Stage 10: Final walkthrough, certificate of occupancy and closing
Before closing, you do a final walkthrough with the builder and make a punch list of anything unfinished or damaged. The local building department issues the certificate of occupancy, which says the house passed its inspections and can be lived in. Then you close. If you have a construction loan, this is usually when it converts to a regular mortgage. We got our keys in summer 2014, and our daughter Addie took her very first steps in that house.
Curious how that all adds up on a calendar? I laid out our exact dates in how long it really takes to build a house.
Frequently asked questions
What are the stages of building a new house?
Plans and selections, the lot and permits, clearing and site prep, excavation and foundation, framing and roof, rough-ins for plumbing, electrical and HVAC, insulation and drywall, interior finishes, exterior finishes and landscaping, then the final walkthrough, certificate of occupancy and closing.
Which stage of building a house takes the longest?
On most builds, interior finishes take the longest once construction starts, because many trades work one after another. On our build, the planning and selections before any dirt moved took almost as long as the construction itself.
When should I do a walkthrough during construction?
Ask for a pre-drywall walkthrough after the plumbing, electrical and HVAC are roughed in and before insulation and drywall go up. On our build that window was only a few days, so schedule it early. Then do a final walkthrough before closing.
Do new homes near Wilmington, NC have basements?
Rarely. Groundwater is high near the coast and flood rules are strict, so most new homes around Wilmington are built on a slab or a raised crawlspace, and many near the water are elevated on pilings.
Keep exploring
Next up: what I’d tell anyone before they build. Looking at communities? Start with new construction homes near Wilmington: communities, builders and what to know, then check what HOA fees cover in master-planned communities.
A quick note from me

Building a house is a wild, wonderful ride, and I’d do it all again. If you’re thinking about new construction around Wilmington, I’d love to walk through every stage with you, from the first floor plan to the day you get your keys.
Talk soon,
Tabi
Dreaming about building your own slice of the coast? Let’s find your home between the river and the sea.
Tabetha Klein, REALTOR® | Coldwell Banker Sea Coast Advantage
Tabetha Klein, REALTOR® | Coldwell Banker Sea Coast Advantage · 910-983-8963 · www.makingilmhome.com. Each office is independently owned and operated. Equal Housing Opportunity.